How to add a recipe to the Meal Planner App
Published November 01, 2021
First things first — A meal plan starts with recipes. Meal Planner App helps you save and keep track of all of your online recipes.

At Meal Planner App, we get it. Meal planning is time-consuming and takes a lot of mental energy. That’s why we’re here. We want to take the struggle out of the process. So we put together a set of tools to make managing recipes easy, fun, and intuitive. Here’s how to get started.
Step 1: Locate the recipe you would like to add
Seems simple enough right? The Meal Planner App gives you two options for adding recipes — automatically adding a recipe by providing link to a recipe online, or manually adding ingredients and instructions for recipes. So before you can add a recipe to the app, make sure you know which method you want to use.
For a recipe that comes from a recipe book or any other offline source, make sure you have access to the ingredients and instructions. You’ll want to add those soon. For a recipe you found online, just select and copy the fully-qualified URL from your browser (this includes the https:// and the www. if there is one).
Step 2: Navigate to the "Add a meal" page
There are a couple of ways to get to the "Add a meal" page, but the easiest is to click Meals from the top navigation, then at the top of the Meals page, click the "Add a meal" button.
Step 3: Fill out the "Add a meal" form
Every meal needs a name. The description and site link are optional.

If you have copied a URL to an online recipe, go ahead and paste it into the site link field. If you will be adding a recipe manually, you can click "Create Meal" with this field left blank.
At this point, if you have chosen to automatically add a recipe from a website, you are most likely done. Congrats! Now you can start organizing recipes with tags and ratings, or you can add to your calendar to complete the meal plan.
If you went with the manual option, or if our recipe bot wasn't able to find the recipe from the link you provided, you should now see a screen that prompts you to "Add a recipe". Go ahead and click that button to proceed to the next step.

Step 4: Complete the "Edit meal" form
Now that you've created the meal, it's time to add details to the recipe, such as ingredients, instructions, or a description. All of the fields on this form are optional and can be skipped.

Note that there is a button underneath the "Ingredients" and "Instructions" fields for adding additional ingredients and instructions. You can also click the red X next to each field to remove ingredients or instructions if you accidentally add too many, or if you'd like to remove or consolidate ingredients or instructions at a later time.
If at any given time, you want to reset your changes back to what they're when you first loaded the form, click the "Reset changes" link.
Adding your own recipe images
Want to add a picture of a recipe? Great!
The "Recipe Image Attachment" field allows you to upload a photo from your phone or computer (or take a photo from your phone). This comes in handy when you're either adding a recipe from a recipe book or if you're keeping track of an old family recipe. Adding custom photos for recipes not only makes your recipe feed look great, but it also allows for visual reference when meal planning.
What’s Next?
Now that you’ve added a meal with a recipe, it's time to start planning. The Meal Planner App gives you a few options for adding meals to the calendar. Here's an article on how to add meals to your calendar.
Remember, as you’re learning to use a new system, things may feel strange until you get used to them. Stick with it, and you’ll be a pro meal planner in no time.
If things are too confusing or unclear, we want to know that. Click the "Feedback" link in the dropdown in the menu, and let us know how we can improve.
You can do this. We have your back!
Start planning and saving money!
Featured recipes:
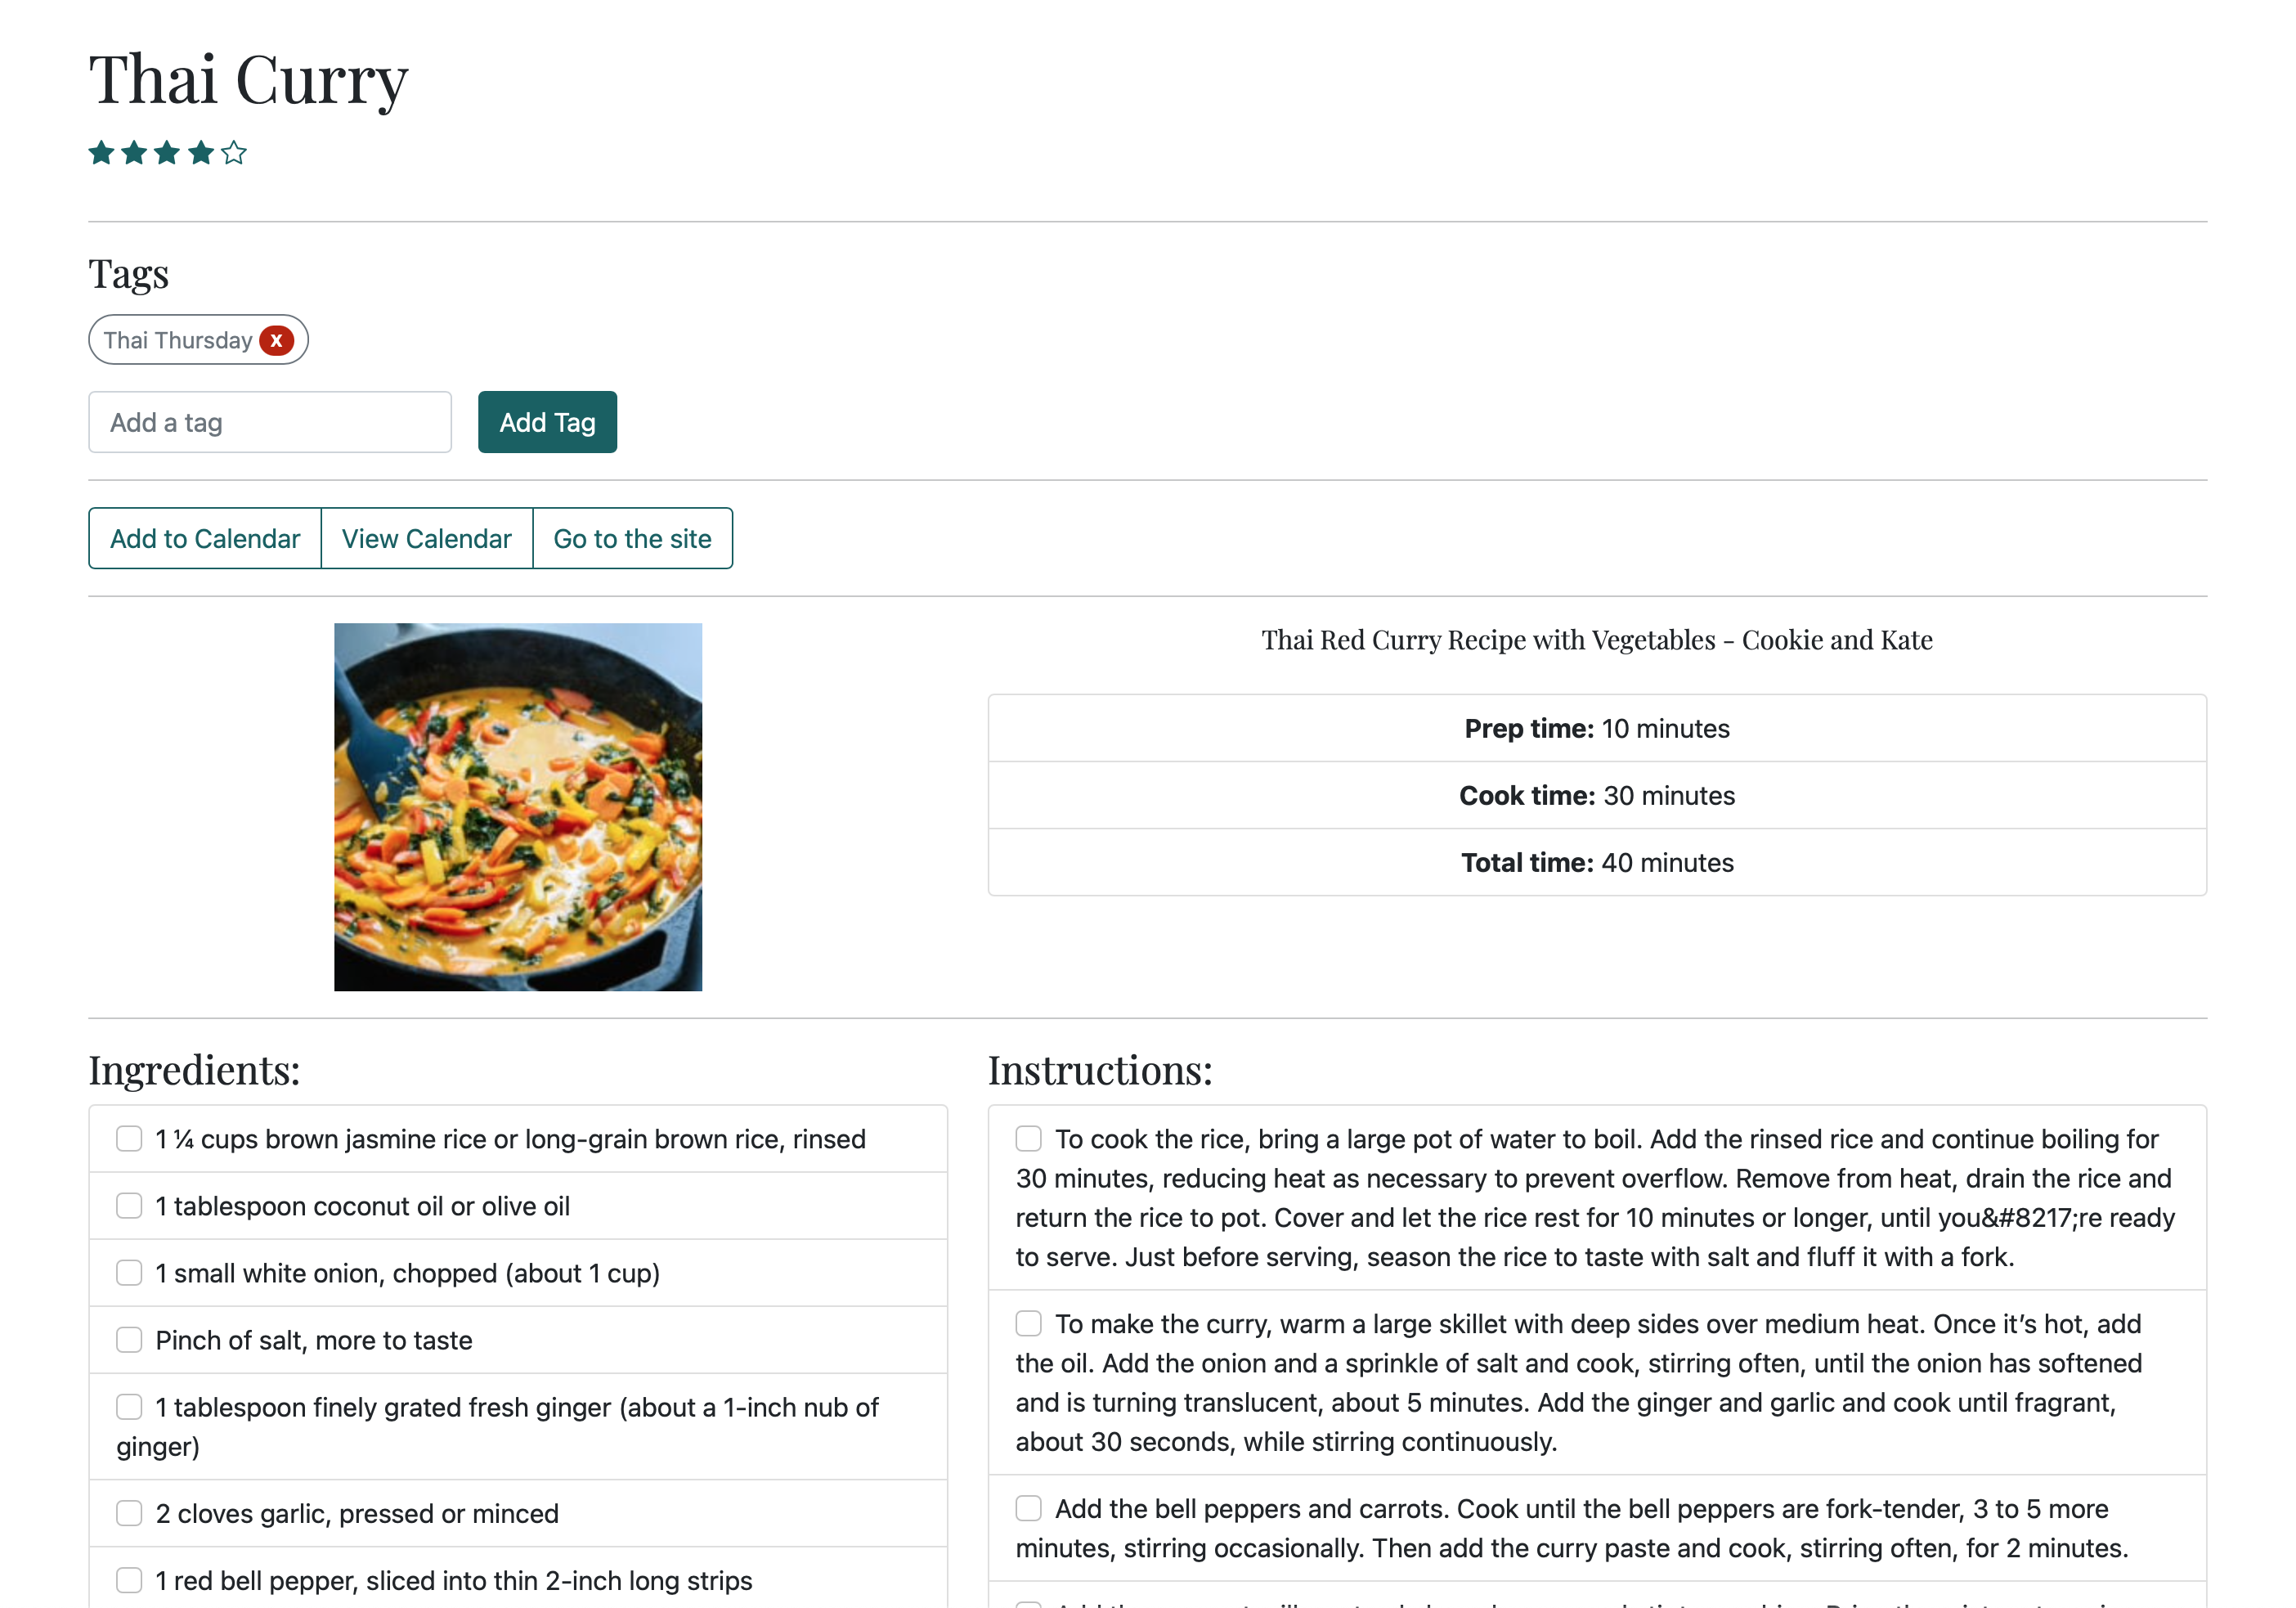
In this article, you can see what it would look like to add Thai Red Curry Recipe with Vegetables by Cookie and Kate to your meals list.